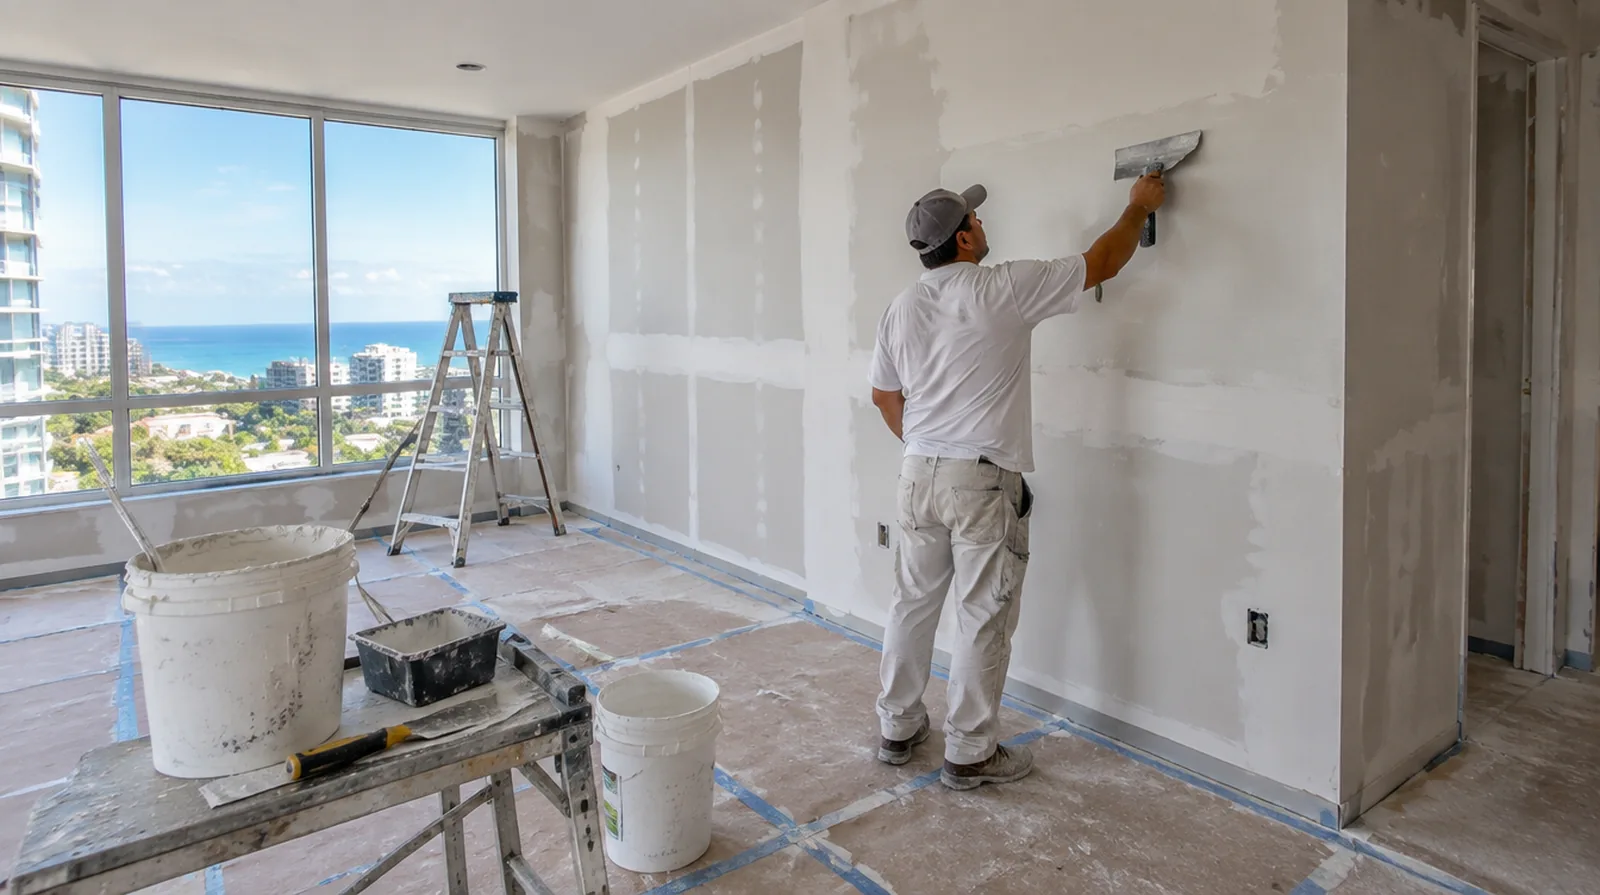
Apply controlled thin layers
A skim coat is intended to refine the surface rather than build a heavy unsupported layer. Deeper texture may require successive passes to level low spots without overloading the high points. For a surface carrying numerous paint layers, discuss whether differences in the retained profile or sheen justify decorating a broader area.
Inspect using side light
Check the dried surface with light crossing it as well as light facing it directly. Review the dry wall under the conditions that will matter after the space is decorated. When the wall has strong reflected light, look at the full plane rather than judging only the narrow strip immediately beside the patch.
Let each coat dry
Allow each application to become ready for the next under the interior conditions actually maintained. A rushed next coat can drag or disturb material that has not set up sufficiently. Where the wall surface meets fixed furniture, clarify whether removal is included or whether the finish will terminate at the accessible edge.
Define the smoothing target
Flattening a light texture is different from correcting deep waves across an entire wall. The scope should describe what the skim is expected to improve and what remains outside that finish treatment. For a room with restricted airflow, plan drying conditions alongside dust protection and the comfort of people occupying neighboring spaces.
Check underlying movement
Surface refinement cannot stabilize framing movement or repair board that no longer holds securely. Recurring cracks ought to be investigated and reinforced appropriately before the finish is covered. For walls beside bright windows, review a dry sample from an oblique angle as well as looking straight at the repaired surface.
Work around trim carefully
Baseboards, frames and fixed fittings create edges that need neat transitions and protection. Discuss whether removing trim is worthwhile or whether the finish will stop cleanly against it. When the same defect has returned, share information about previous repair methods so the next assessment can consider why they did not last.
Assess the existing coating
Loose paint and unstable layers need attention before a thin skim can bond reliably. Separate peeling or poorly bonded material from a stable wall that merely needs smoothing. If materials must cross common building areas, plan the protection and access route so other occupants are not needlessly obstructed by deliveries.
Stabilize torn paper
Wet finishing material can lift damaged paper if the exposed area has not been suitably prepared. Stabilize those paper defects with an suitable treatment before beginning the broad skim application. Where flooring is staying in place, agree on protective coverings and check that tools and material handling will not damage the noticeable finish.
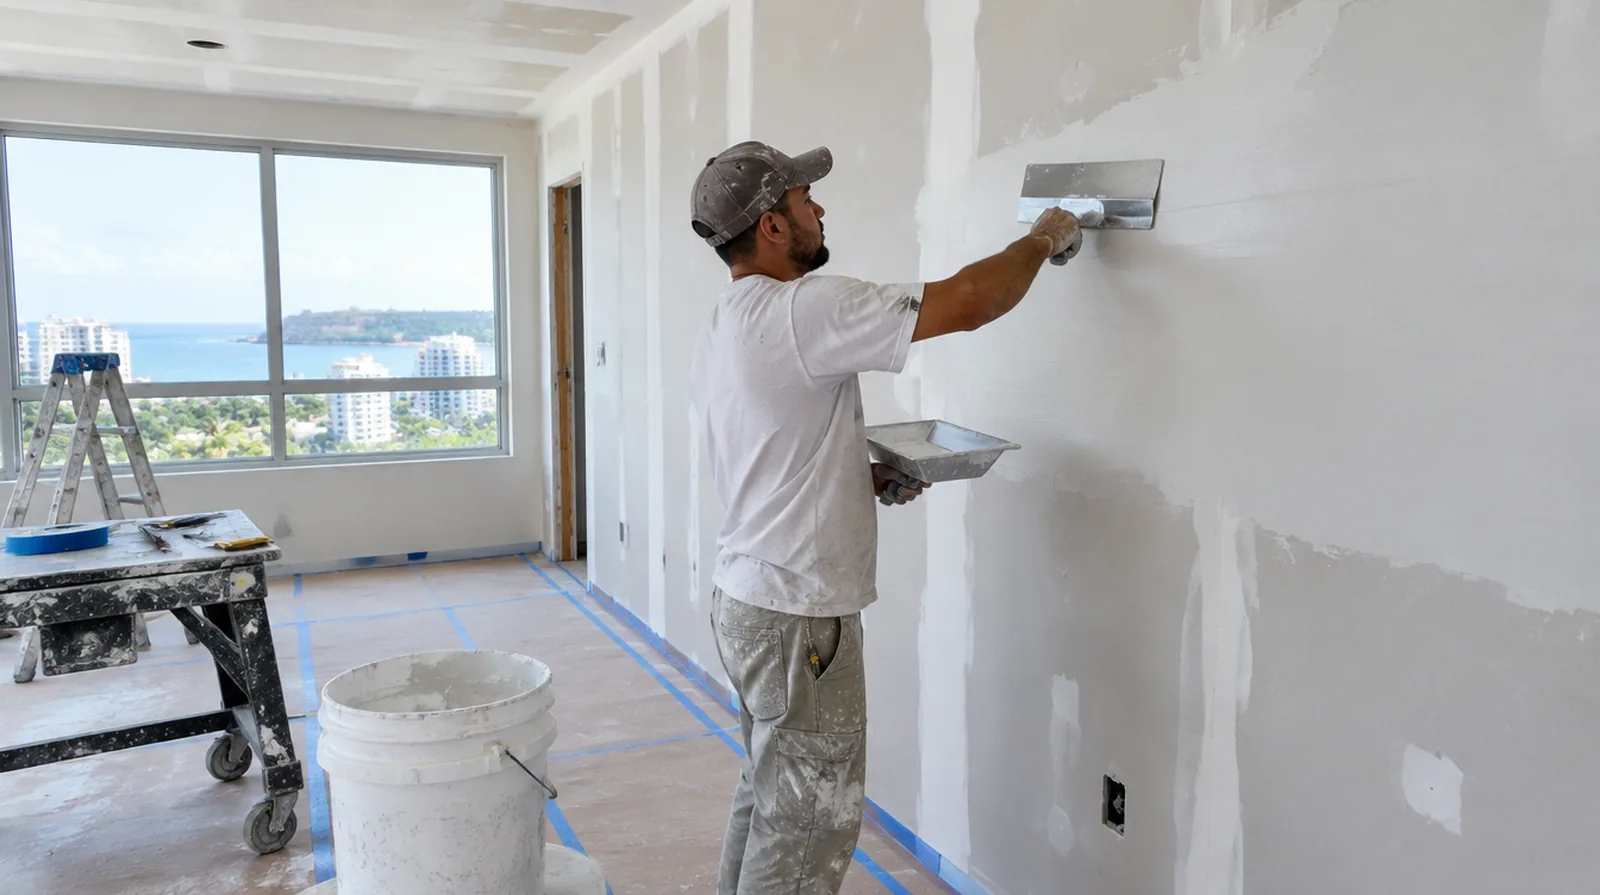
Choose paint with the finish
A glossy decorative choice may reveal variations that a lower sheen makes less apparent. Connect the paint selection to the agreed preparation standard before deciding how extensive the skim work ought to be. At an edge beside built in furniture, state whether the obstruction will be removed or whether finishing stops at the section that can be reached.
Refine with minimal sanding
Careful application limits how much abrasive refinement is needed later. Dust control should still be planned because broad wall work may create fine airborne particles. If materials must cross common building areas, plan the protection and access route so other occupants are not needlessly obstructed by deliveries.
Project context in San Juan
Access planning is another separate item: identify delivery arrangements, the working clearance and any building management requirements before ordering material. In San Juan, warm humid conditions make it especially useful to distinguish an old dry stain from a continuing source of moisture.
Scope questions before finishing
In a room with little free floor space, identify temporary storage for belongings and establish enough clearance for the work before delivery.
When building management controls access, agree delivery hours and common area protection before committing to a start or finish date.
Where a finished perimeter is prominent, decide whether trim stays in position or is removed before agreeing how the new surface meets that edge.
When painting is outside the proposal, describe the remaining decorative preparation clearly so another contractor can price that stage accurately.
When the decorative coating has been selected, tell the finisher its intended sheen and color while the surface preparation standard is still being agreed.
When panel replacement exposes a cavity, resolve any required inspection before that opening is closed and the finishing work begins.
At the handover inspection, review the finish from ordinary room positions using the lighting conditions that were agreed for the work.
When a paint contractor follows the drywall work, define the surface condition being handed over and decide who handles any minor final touch ups.
At a repair beside an opening, allow clearance for moving board through the doorway and space to use the finishing tools effectively.
For a small repair with extensive setup, compare the total scope rather than assuming the price should follow the hole dimensions alone.
Where flooring is staying in place, agree on protective coverings and check that tools and material handling will not damage the visible finish.
When the wall has strong reflected light, look at the full plane rather than judging only the narrow strip immediately beside the patch.
Explore the San Juan drywall overview for related options, or read the project planning information before arranging the next stage.
More planning details for San Juan
Describe when the mark changes and whether it appears near a cooled room, pipe route or ceiling junction. A drywall proposal should not assume that covering the visible spot resolves the cause. Once the underlying condition is understood, arrange a dry storage area for panels and discuss how air can circulate during finishing.